|


| |
|
Throwing
Throwing a bowl, mug, or other article from clay is a process of many steps.
First, the potter inspects the clay to make sure the consistency is appropriate
for throwing. Some potters prefer to throw clay which contains more water,
making it softer, and others like to throw firmer clay.
|
 |
|
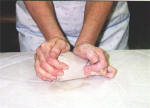
The bag of clay is opened and a piece is
sliced off the 25 lb. block. Then the potter wedges or kneads
the clay on a plaster wedging board. This has several purposes.
Clay which has been sitting a while "sets up," appearing to be firmer than
it really is. Wedging "loosens" it up, making it softer and much
easier to work with. Wedging also removes any air bubbles from the
clay. This is essential because an air bubble causes a weak spot in
the wall of the piece. Lastly, wedging mixes the clay well and insures
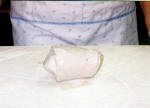
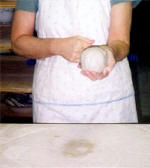
uniform consistency throughout. The clay is then shaped into a ball
and protected from drying out while it awaits its appointment with the
potter's wheel. |
 |
|
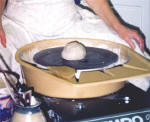
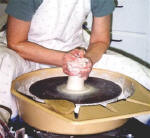
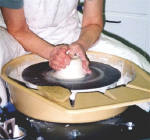
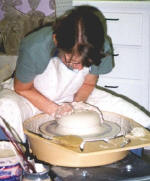
To begin the throwing process, the potter
adheres the clay to the wheel by literally throwing the ball of clay onto a
bat, a flat piece of masonite or other material, which has been placed on the wheel head.
The wheel is then turned on (if electric) and the potter places wet hands on
the clay to begin centering. Pressure is applied to the clay as it
spins on the wheel, with the goal of forcing the shape to change to one
which is perfectly symmetrical. Yes, this takes practice!! As
the water is absorbed and the clay dries, the potter's hands will stick to
the clay and pull it out of center if he does not re-wet them periodically.
Different potters have different methods for centering the clay, but all
involve putting pressure on the clay to change its shape. The clay is
centered when a finger placed on the clay does not bob and change position
as the wheel turns, but stays perfectly still, showing that the clay is
totally uniform in shape. |
 |
 |
 |
|
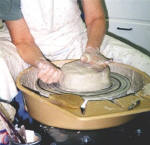
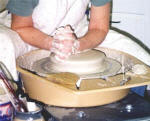
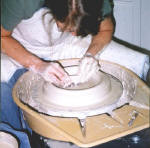
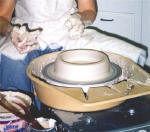
When the clay is centered, the next step is to "open" it by creating a
depression in the center. This must be done with care because a
jerky movement now or at any time can easily pull the clay out of center.
Some potters open with a thumb, some with two thumbs, others with one or two
fingers. Still others like to use a sponge to assist in the process.
One or two fingers are then placed in the depression and gentle pressure is
applied to widen the opening. If the potter is making a bowl, a wider hole
will be created than if a mug is being thrown.
|
 |
|
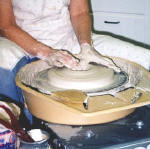
At all times, the
potter must be aware of the quality of the clay. The hands must be wet
over and over again as the clay absorbs the moisture and becomes sticky.
Care must be given to keeping the clay centered at each step. If the
clay becomes off center, the potter must re-center it or discard the lump of
clay and begin again with another piece.
|
 |
 |
 |
|
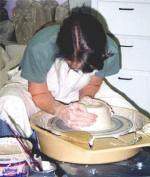
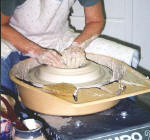
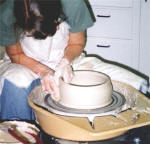
Once the clay is centered and opened, the
potter may begin pulling up the sides of the piece. A right-handed potter
will place her left hand inside the piece and her right hand outside the piece.
With the fingertips of the two hands opposing each other, gentle pressure is
applied to the right-hand side of the bowl, compressing the clay between the
fingers while the hands are slowly raised bringing the clay with it.
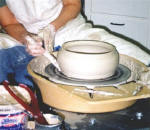
The result is a thinning and raising of the wall of the piece. Normally,
several pulls are required to complete the sides of the bowl. The sides
are completed when they are uniform in thickness from the bottom to the top of
the piece and appropriate in thickness for the item being thrown.
|
 |
|
If the potter wishes to add colored slip to
the piece, she may do it now or may add it later after the piece dries to
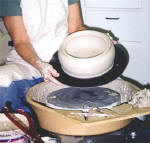
leather hard. When the potter is fully satisfied, she runs a wire
underneath the piece as the wheel slowly revolves. The bat with the newly
thrown piece is then removed from the wheel head. Alternately, if the
piece is small, the potter may add water to the wheel head and slide the
completed piece off the bat and onto a ware board. Then she sets the piece aside to
dry to leather hard, the proper consistency for trimming. |
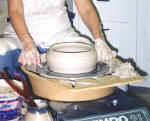 |
| The completed pot--well, at least this piece is completed.
Next job: throw the lid. |
 |
| |
|
| |
|
| |
|
|